
Masonry repair is essential for maintaining the strength, safety, and appearance of brick, stone, and concrete structures. Over time, even durable materials develop cracks, loose mortar, and surface damage due to weather exposure, moisture, and ground movement. Understanding proper masonry repair methods helps prevent small issues from turning into costly structural problems.
This masonry repair guide: tools, methods & expert tips explains how to identify common problems, choose the right tools, apply proven repair methods, and avoid costly mistakes. Whether you are a homeowner handling small repairs or planning a larger restoration, understanding the basics helps you protect both safety and property value.
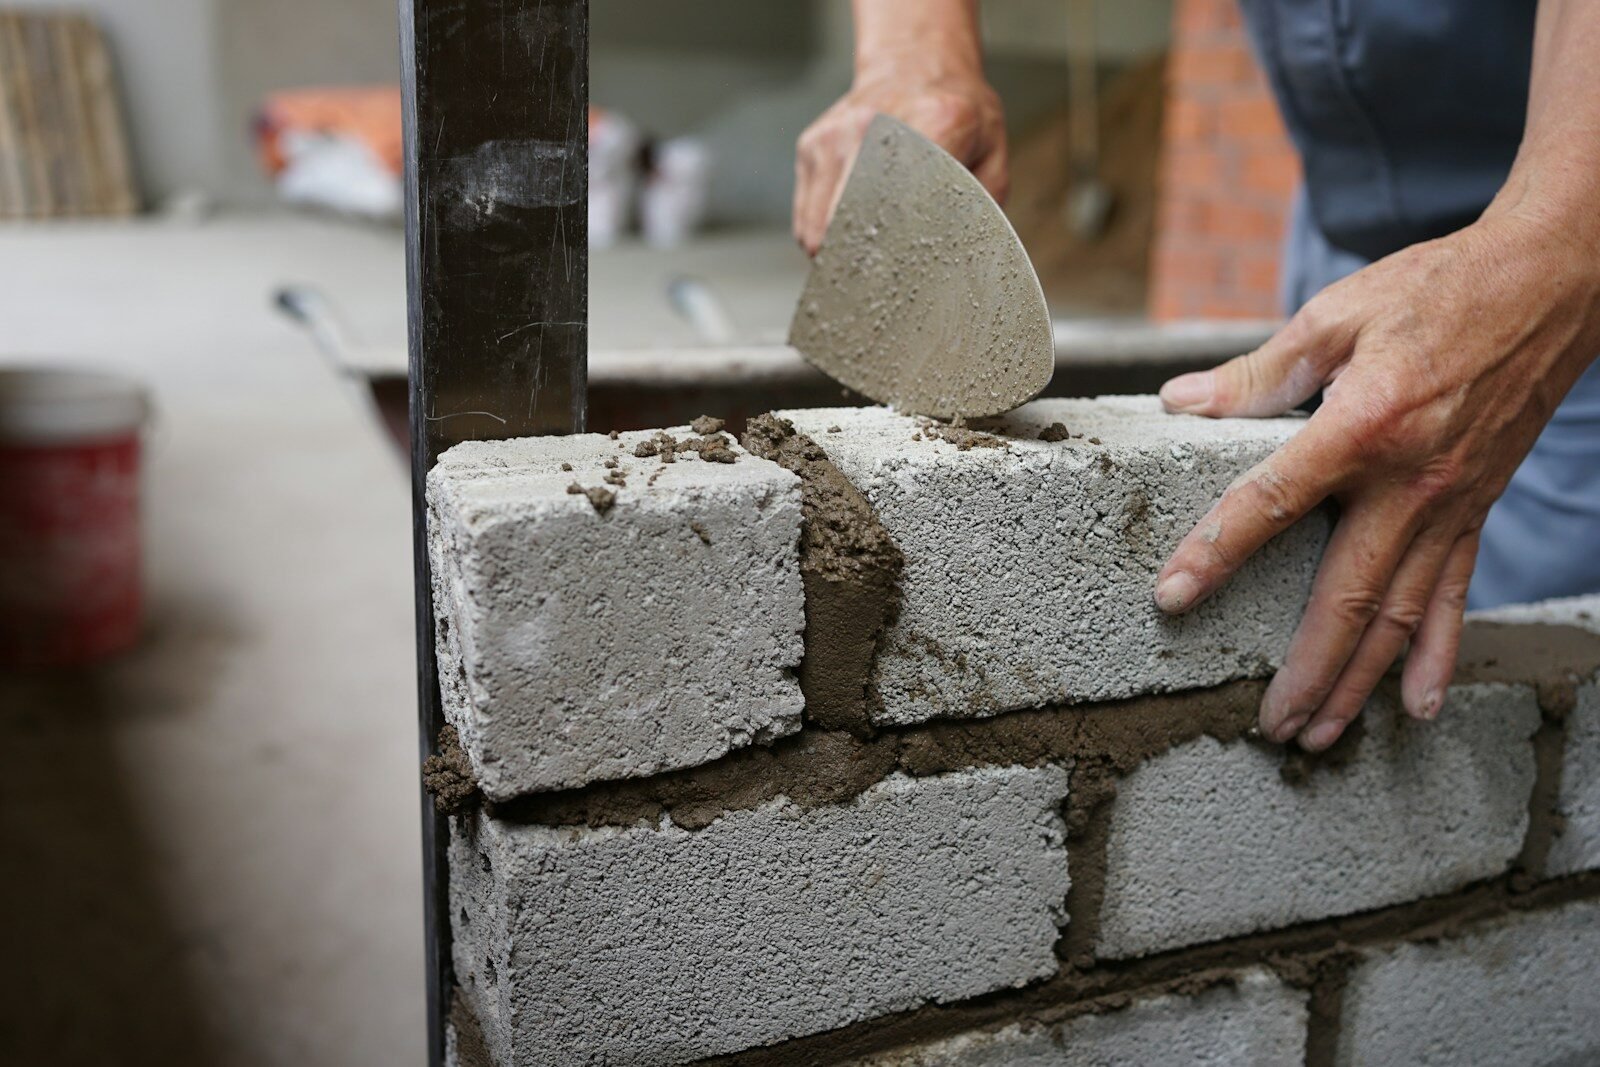
What Is Masonry Repair?
Masonry repair involves fixing damaged bricks, stones, mortar joints, or concrete surfaces to restore structural strength and appearance.
Common repair goals:
- Restore structural integrity
- Prevent water infiltration
- Improve appearance
- Extend lifespan of the structure
Common Types of Masonry Damage
Before starting any repair, it is important to identify the type of damage. Each issue requires a different approach.
1. Cracks in bricks or mortar
Cracks are one of the most visible issues.
Causes:
- Foundation settling
- Temperature expansion and contraction
- Moisture damage
Types of cracks:
- Hairline cracks (minor)
- Stair-step cracks (structural concern)
- Vertical or horizontal cracks
2. Deteriorating mortar joints
Mortar holds bricks or stones together. Over time, it weakens and breaks down.
Signs:
- Crumbling or missing mortar
- Gaps between bricks
- Loose masonry units
3. Efflorescence
This appears as a white, powdery residue on masonry surfaces.
Cause:
- Water carrying salts to the surface
Impact:
- Usually cosmetic, but indicates moisture problems
4. Spalling bricks
Spalling occurs when bricks start flaking, chipping, or breaking apart.
Cause:
- Water entering the brick and freezing
- Poor-quality materials
5. Water damage
Moisture is the most common cause of long-term masonry failure.
Signs:
- Stains
- Mold growth
- Soft or weakened surfaces
Essential Tools for Masonry Repair
Using the right tools improves both efficiency and results.
Basic hand tools
- Masonry trowel
- Hammer and chisel
- Joint raker
- Wire brush
Power tools
- Angle grinder with masonry blade
- Drill with mixing attachment
Support tools
- Mortar mixing tray or bucket
- Level and measuring tape
- Safety gear (gloves, goggles, mask)
Insider tip:
A quality trowel and proper mortar mix often make more difference than expensive equipment.
Materials Used in Masonry Repair
Choosing the correct materials is critical for long-lasting results.
Common materials:
- Mortar mix (Type N, S, or M depending on strength)
- Replacement bricks or stones
- Concrete patching compounds
- Sealants and waterproof coatings
Important note:
Always match the new mortar strength to the existing structure. Using mortar that is too strong can cause bricks to crack over time.
Step-by-Step Masonry Repair Methods
1. Repointing mortar joints
Repointing is the process of removing damaged mortar and replacing it with fresh mortar.
Steps:
- Remove old mortar using a chisel or grinder
- Clean joints thoroughly
- Apply new mortar using a trowel
- Smooth and shape the joints
- Allow proper curing time
When to use:
- Mortar is cracked or missing
- Bricks are still in good condition
2. Crack repair
For small cracks:
- Use masonry crack filler or sealant
For larger cracks:
- Fill with mortar or epoxy
- Reinforce if structural movement is present
Expert tip:
If cracks keep reappearing, the issue may be structural and require professional inspection.
3. Brick replacement
When bricks are severely damaged, replacement is necessary.
Steps:
- Remove damaged brick carefully
- Clean surrounding area
- Apply fresh mortar
- Insert new brick
- Align and finish joints
4. Cleaning and removing efflorescence
Method:
- Use a stiff brush for dry cleaning
- Apply mild cleaning solution if needed
Important:
Do not use harsh chemicals that can damage masonry surfaces.
5. Waterproofing masonry
Preventing water entry is key to long-term durability.
Options:
- Sealants
- Water-repellent coatings
- Proper drainage improvements
Safety Considerations
Masonry repair involves tools, dust, and heavy materials.
Safety tips:
- Wear protective gear
- Avoid working on unstable structures
- Use proper lifting techniques
- Ensure good ventilation
When to Hire a Professional
Some repairs are beyond basic DIY skills.
Call a professional if:
- Cracks are large or expanding
- Walls are leaning or bulging
- Foundation issues are suspected
- Structural stability is compromised
Cost of Masonry Repair
Costs vary based on damage type and repair method.
Estimated ranges:
- Minor repairs: $100–$500
- Repointing: $5–$25 per square foot
- Brick replacement: $20–$40 per brick
- Major structural repairs: $1,000+
Preventive Maintenance Tips
Preventing damage is more cost-effective than repairing it.
1. Control moisture
- Fix leaks quickly
- Maintain gutters and drainage
2. Inspect regularly
Check for cracks, loose mortar, and discoloration.
3. Seal surfaces
Apply protective coatings where needed.
4. Maintain proper landscaping
Keep soil and plants away from walls to reduce moisture buildup.
Common Mistakes to Avoid
1. Using the wrong mortar type
This can cause further damage instead of fixing the issue.
2. Ignoring small cracks
Minor issues can quickly become major repairs.
3. Poor surface preparation
Dirty or loose surfaces prevent proper bonding.
4. Skipping curing time
Mortar needs time to set properly for strength.
Expert Insider Tips
- Slightly dampen masonry before applying new mortar for better adhesion
- Work in moderate weather; extreme heat or cold affects curing
- Match mortar color for better visual results
- Use smaller batches of mortar to avoid waste
- Test repair methods on a small area first
Real-World Example
A homeowner noticed small cracks and crumbling mortar in an exterior brick wall.
Action taken:
- Performed repointing on affected joints
- Applied waterproof sealant
- Improved drainage around the foundation
Result:
- Prevented further damage
- Improved wall strength
- Avoided costly structural repair
Final Thoughts
Masonry repair is a practical skill that helps maintain both the safety and appearance of a structure. Understanding the right tools, materials, and methods allows you to address common problems effectively.
Small repairs can often be handled with basic tools and proper technique, while larger structural issues require professional expertise. The key is early detection, correct material use, and consistent maintenance.
A well-maintained masonry structure not only lasts longer but also retains its strength and visual appeal for years.